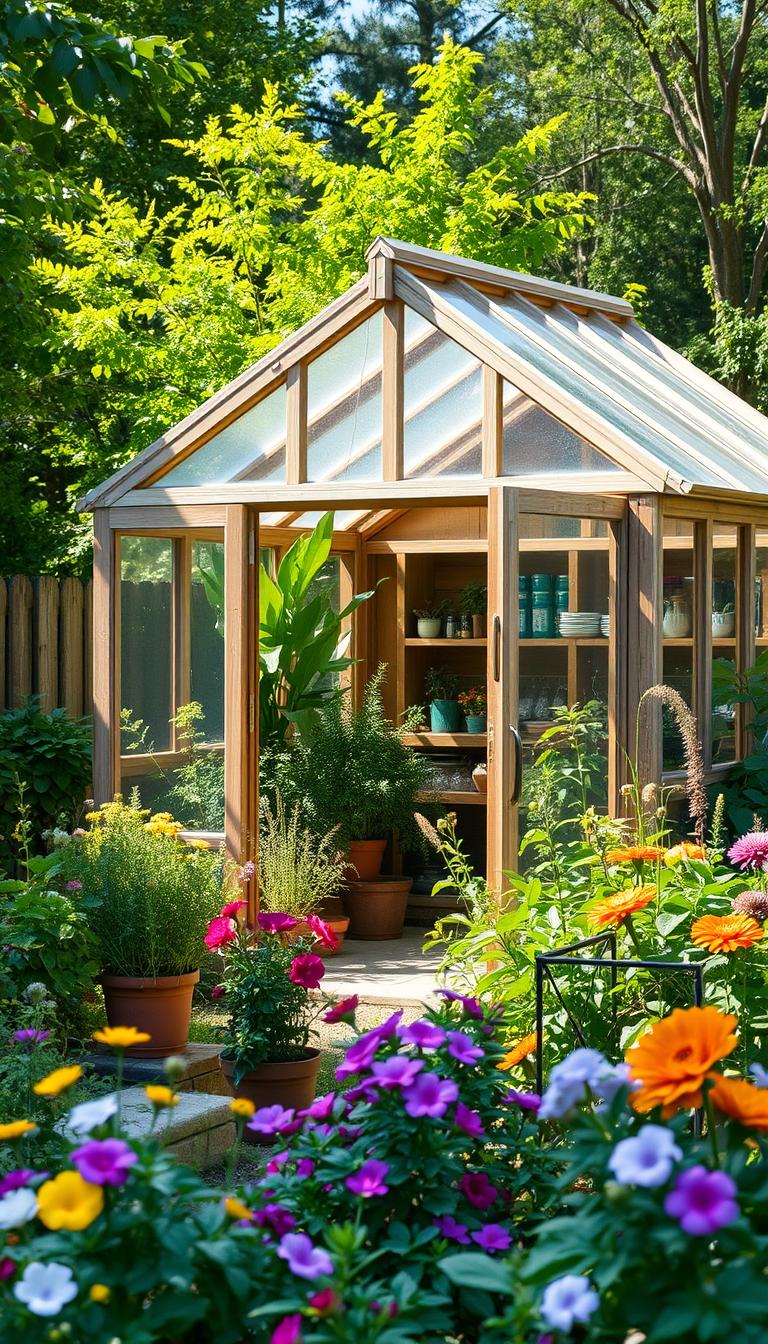
DIY Lean to Greenhouse: Create Your Own Backyard Oasis
Diy lean to greenhouse ! Imagine stepping outside your back door in February to pluck fresh herbs or crisp greens. For market gardeners like CSA Market Garden and Bootstrap Greenhouse, this isn’t a dream – it’s their daily reality. Their secret? A simple structure that hugs existing walls, turning unused space into a thriving microclimate.
These practical growing spaces cost just $1.00-$1.50 per square foot to build. By using recycled windows and basic lumber, you’re not just saving money – you’re giving new life to materials that might otherwise go to waste. The south-facing design captures sunlight like a natural battery, while strategic vents keep plants happy during warmer months.
What makes this approach special? It’s your existing home doing double duty. Attaching to a wall means instant insulation and structural support. No need for expensive foundations or complex framing. Even better? You’ll gain up to six extra weeks of growing time on both ends of your local frost dates.
Table of Contents
Ready to transform that blank wall into your personal produce aisle? We’ll walk through each step using techniques perfected by professional growers. You’ll learn how to position vents for optimal airflow, choose the right materials for your climate, and create a space that grows with your gardening ambitions.
Getting Started: Planning Your DIY Lean-to Greenhouse
Planning your growing space starts with two critical steps: legal checks and material choices. Skipping these could mean rebuilding later or facing fines. Smart preparation saves time and money while keeping your project compliant.
Understanding Zoning and Permitting Requirements
Always contact your local building department first. Many areas treat plastic-covered structures as temporary if they’re under 120 square feet. Rural zones often have simpler rules, while urban areas may require permits for any attached build.
One Midwest gardener shared: “Our county allowed up to 150 sq ft without permits if using removable anchors.” Check setback requirements from property lines and height restrictions before finalizing plans.
Assessing Your Backyard and Material Options
Identify a south-facing wall receiving 6+ hours of winter sun. Measure available space carefully – most designs need at least 4 feet of clearance from trees or fences. Sketch your layout using graph paper or digital tools.
Source quality lumber for the main frame – pressure-treated 2x4s resist moisture best. Reused steel hoops from old barns or construction sites can slash costs by 40%. Compare material options using this guide:
| Material | Cost | Durability | Reuse Potential |
|---|---|---|---|
| Lumber | $0.80/ft | 10-15 years | Medium |
| Steel Hoops | $1.20/ft | 20+ years | High |
| Polycarbonate | $2.50/sheet | 5-7 years | Low |
Finalize your plan by listing all parts needed. Include exact measurements for the front wall and roof angles. This checklist prevents mid-build trips to the hardware store.
Design and Layout Considerations for a Backyard Oasis
Positioning your structure correctly makes all the difference between thriving plants and constant adjustments. Smart placement maximizes sunlight while balancing airflow – the twin engines of plant health. Let’s break down how to align your space with nature’s rhythms.

Selecting the Ideal South-Facing Wall
Your house’s southern exposure becomes a solar powerhouse in winter. Walk around your property at 10 AM and 3 PM – does the chosen wall get uninterrupted light? Avoid spots shaded by trees or neighboring buildings. “South-facing surfaces absorb 40% more winter sunlight than other orientations,” notes a USDA horticulture report.
Mark your layout using chalk lines on the house wall. Leave 18 inches between the structure and permanent features like AC units. This clearance simplifies maintenance and prevents moisture buildup.
Optimizing Air Circulation and Orientation
Windows and doors work best when placed on opposite walls. Install operable vents low on the north side and high on the south side – heat rises, creating natural airflow. Use corrosion-resistant screws for hinges to withstand humidity fluctuations.
Aim for ventilation openings covering 15-20% of your floor space. For a 100 sq ft area, that’s 15-20 sq ft of windows or louvers. Sloped roofs (25-30 degree angle) shed snow while capturing angled winter sun.
Double-check door swings and window handles during your design phase. You’ll want smooth access without plants getting crushed. Proper planning here saves headaches during busy growing seasons.
diy lean to greenhouse: Materials and Construction Essentials
The right materials turn backyard projects into year-round growing spaces. Focus on durability and smart sourcing to create a structure that withstands seasons while keeping costs manageable. Every component matters – from the frame’s backbone to the protective outer layer.

Choosing Lumber, Screws, and Protective Covers
Start with pressure-treated wood for the frame. It resists rot and lasts 15+ years. Stainless steel screws prevent rust stains on your plastic sheeting. One gardener notes: “Galvanized fasteners outlasted standard ones by four seasons in my humid climate.”
Opt for 6-mil UV-stabilized plastic. This material blocks harmful rays while letting 90% of sunlight through. Secure edges with batten strips – they’re easier to replace than entire sheets if damaged.
Sourcing Reusable Hoops and Other Key Parts
Check local classifieds for used steel tubing. Bent hoops from old carports often sell for half the price of new ones. A Michigan grower shares: “Local farm auctions became my best resource – I paid 30¢ per foot instead of $2 new.”
Break the project into manageable pieces:
- Frame supports (pressure-treated 4×4 posts)
- Roof crossbeams (2×6 cedar)
- Wall anchors (concrete wedge blocks)
Compare hardware store prices with salvage yards. Many builders discard perfectly usable materials – a quick call to construction sites might score free leftover lumber.
Step-by-Step Guide to Building Your Greenhouse
Grab your tools and mark your calendar – construction begins with precise measurements. Start by positioning your ledger board against the existing wall. Use a laser level to ensure perfect horizontal alignment. This critical first step determines your entire structure’s stability.

Establishing the Base Frame and Attaching to an Existing Structure
Secure the ledger beam 18 inches above ground using 3-inch lag screws. Pre-drill holes to prevent wood splitting. One Montana gardener shares: “We spaced anchors every 16 inches – our frame hasn’t shifted in three winters.”
Assemble ground posts from pressure-treated 4x4s. Bury them 24 inches deep in concrete footings. Connect posts to the ledger using galvanized steel brackets. Check diagonals with a framing square – adjustments now prevent headaches later.
Framing Walls, Installing Windows, and Securing Doors
Build wall panels on a flat surface using pre-cut 2×4 studs. Space vertical supports 24 inches apart for optimal strength. Reuse old storm windows by trimming them to fit openings – they’re cheaper than new glass and reduce waste.
Install ventilation windows opposite your door location. Use adjustable hinges for seasonal airflow control. A Texas grower recommends: “Add screen mesh behind windows to keep pests out during summer ventilation.”
| Material | Prep Time | Installation Tips |
|---|---|---|
| Pre-cut Studs | 15 min | Label pieces for quick assembly |
| Reused Windows | 30 min | Apply silicone sealant edges |
| Door Frame | 45 min | Check clearance with level |
Allow two full weekends for this phase. Rushing framing leads to gaps and drafts. Remember – quality work here extends your growing season and protects plants from harsh weather.
Enhancements for Efficiency: Ventilation, Lighting, and Added Features
Once your structure stands sturdy, focus shifts to climate control and workflow. Smart upgrades transform basic shelters into precision growing environments. Proper ventilation and storage solutions keep plants thriving through seasonal shifts.

Installing Vents, Fans, and Thermostats for Temperature Control
Start with roof vents near the peak – heat escapes fastest here. Install louvered windows on opposite walls to create cross-breezes. For automated control, wire a thermostat to electric fans. One Oregon grower notes: “Our 12-inch exhaust fan cycles air every 15 minutes during summer peaks.”
Use step step adjustments when testing airflow. Open hinges incrementally until leaves flutter gently. Making sure fans don’t direct harsh drafts onto seedlings prevents stress. Seal gaps around openings with weatherstripping to maintain efficiency.
Incorporating Workbenches and Interior Storage Options
Build waist-high benches from pressure-treated 2x4s. Leave 18 inches between shelves for potting supplies. A Minnesota gardener shares: “Wall-mounted racks doubled our storage without sacrificing floor space.”
Attach sliding windows above work areas for easy ventilation access. Use hinges with locking mechanisms on cabinet doors. Make sure all additions leave clear pathways – you’ll appreciate the room during harvest season.
These upgrades help your built greenhouse operate smoothly from spring’s opening to fall’s end. With hand-tested systems in place, you’ll gain confidence to push your growing season limits.
Conclusion
Every successful garden expansion starts with a solid foundation against your home. By attaching your growing space to an existing wall, you’ve unlocked year-round potential using smart design and budget-friendly materials. Pressure-treated lumber and strategic ventilation turn unused areas into thriving ecosystems, while proper planning ensures your structure withstands seasonal shifts.
Double-check measurements during construction to maintain alignment with your house. Quality screws and weather-resistant hinges keep components secure through temperature changes. Real-world examples show these spaces extend harvests by weeks, even in colder climates.
Your project transforms blank walls into productive assets. Follow each step carefully, from selecting UV-stabilized plastic to positioning vents. The result? A durable setup that boosts your home’s sustainability while cutting grocery bills.
Ready to begin? Review the guide’s tips on framing and airflow optimization. With patience and attention to detail, you’ll create a space where plants flourish beyond traditional growing limits.