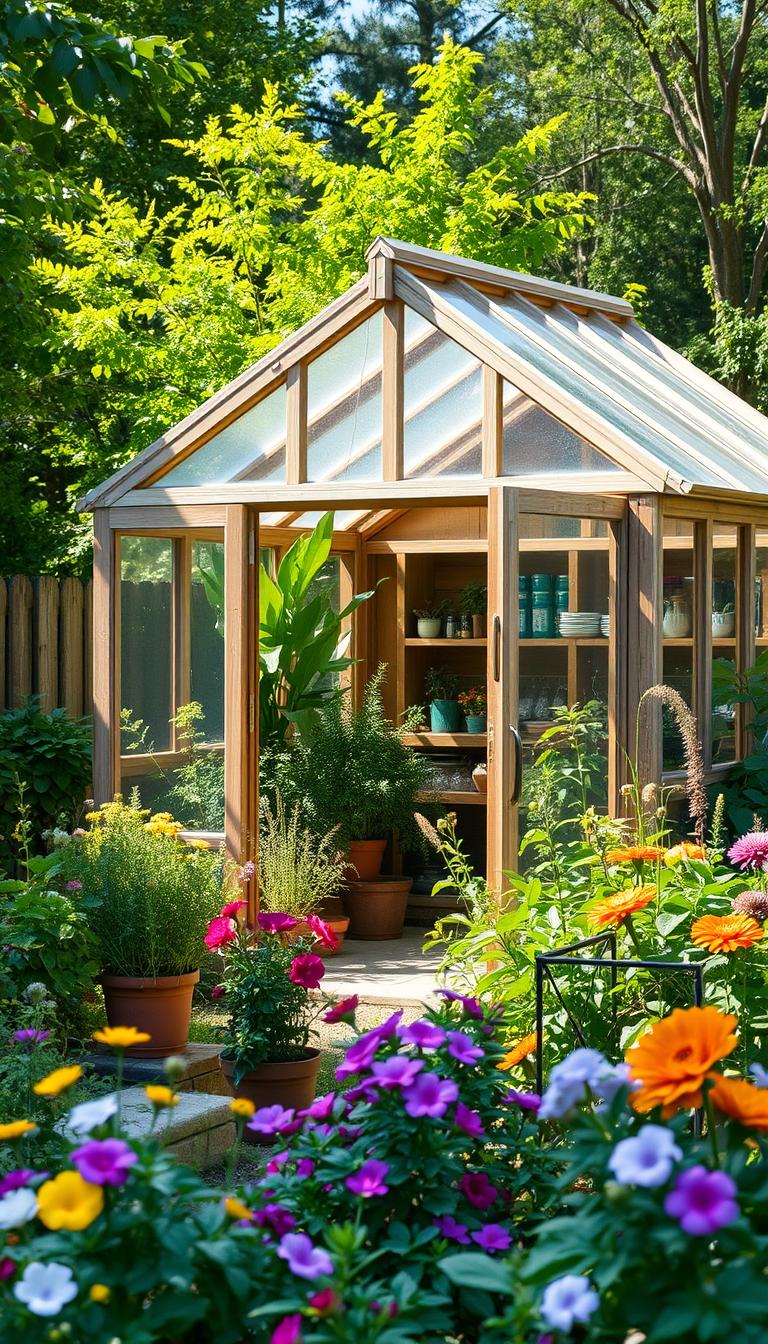
How to Build a Lean to Greenhouse for Your Home Garden
Imagine stepping into your backyard on a frosty morning, greeted by lush tomatoes and vibrant herbs thriving under protective glass. For many gardeners, this dream feels out of reach—until now. A lean to greenhouse isn’t just a structure; it’s a gateway to year-round growing, blending practicality with the joy of nurturing life.
Whether you’re battling unpredictable seasons or craving fresh greens in winter, this project transforms your home garden into a resilient oasis. Take Dorothy Ainsworth’s story: she built hers using a $450 kit from The Home Depot, doubling her harvests while slashing grocery bills. Her secret? Smart design and materials anyone can source locally.
In this guide, you’ll learn how to create a space where seedlings flourish and frost never bites. We’ll break down frame-building basics, optimal light placement, and budget-friendly tips—like using polycarbonate panels instead of pricier glass. Ready to turn that empty wall or underused patio into a thriving hub?
Table of Contents
Introduction to Your Lean to Greenhouse Project
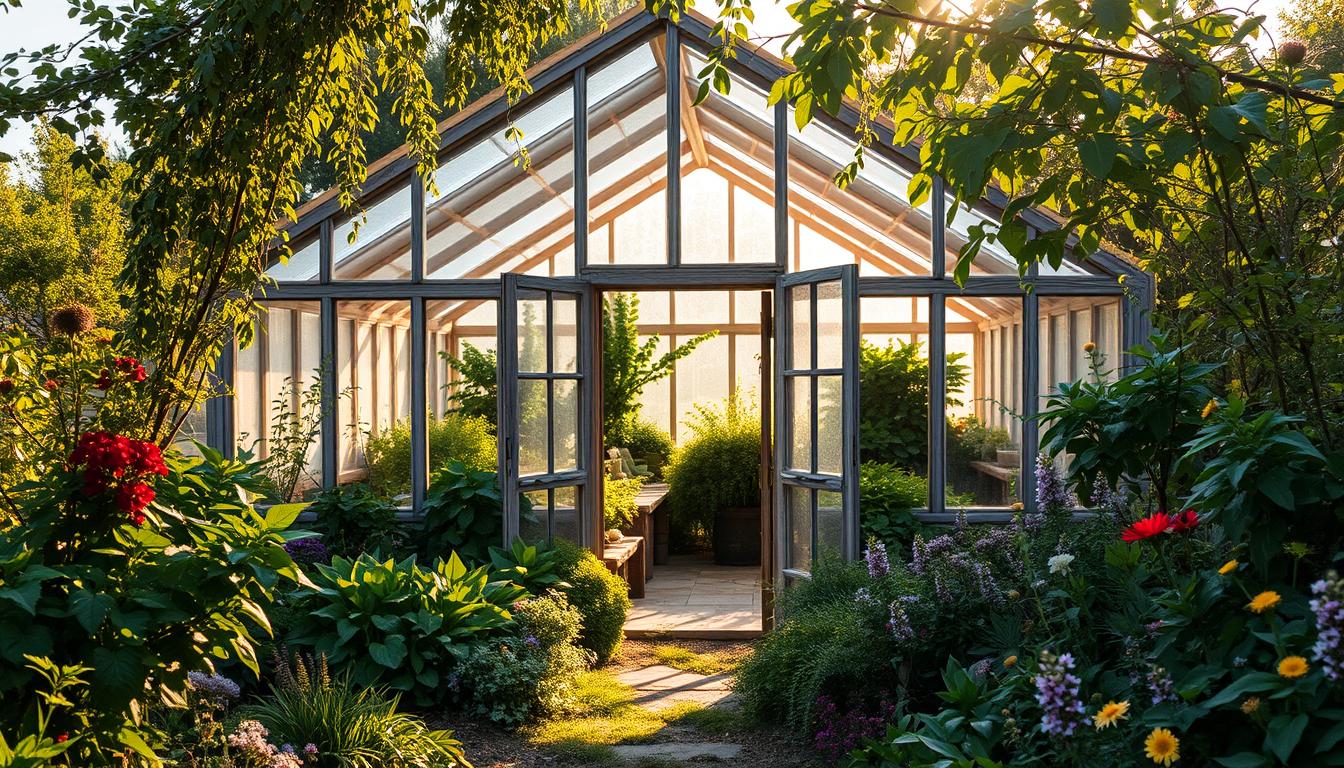
Transforming an unused wall or patio into a year-round growing zone is simpler than you think. These structures blend seamlessly with your house, creating a sheltered room for delicate plants while maximizing limited space. Gardeners like Dorothy Ainsworth report harvesting strawberries in January and nurturing seedlings weeks before spring—all thanks to smart design.
Why This Solution Works
Three core advantages make these additions game-changers:
| Feature | Traditional Setup | Attached Structure |
|---|---|---|
| Winter Protection | Limited frost resistance | Consistent 10-15°F warmer |
| Space Efficiency | Requires separate area | Uses existing house wall |
| Airflow Control | Manual vent adjustments | Built-in roof vents |
“My citrus trees survived -12°F last year. The thermal mass from our home’s brick wall acts like a giant heater.”
Your Roadmap Ahead
This guide walks you through:
- Material options balancing cost and durability
- Step-by-step framing techniques
- Ventilation systems to regulate heat
You’ll learn to position panels for optimal light and install shelving that triples growing space. Whether converting a south-facing side or narrow alley, we’ve got you covered.
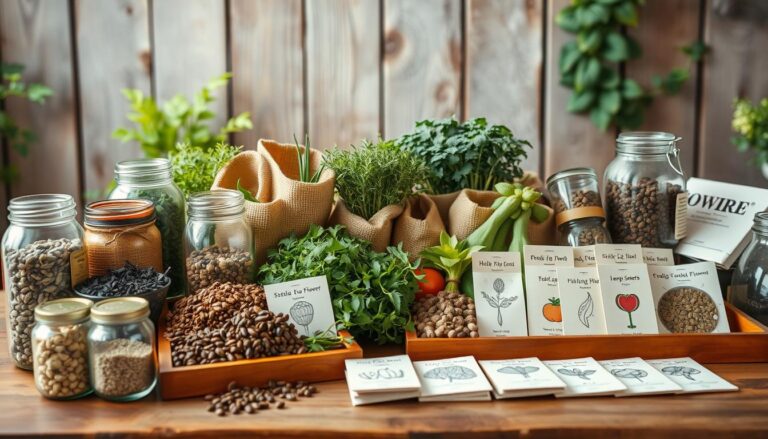
Materials and Tools You Will Need
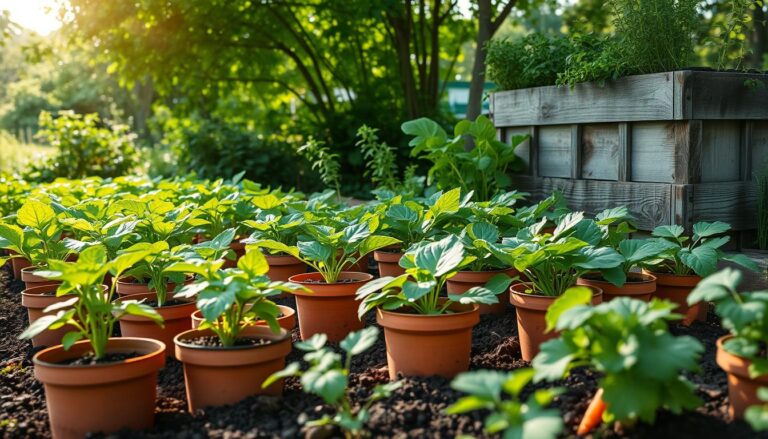
Gathering the right materials is the first step to ensuring your structure stands strong through every season. Dorothy Ainsworth’s winter strawberry harvest didn’t happen by chance—her project began with a precise selection of weather-resistant products. Start by creating two lists: one for construction tools and another for building components.

Essential Tools for Construction
You’ll need basic carpentry tools for stud-frame assembly. A circular saw, cordless drill, and 4-foot level form your core kit. Dorothy recommends The Home Depot’s DEWALT 20V Max combo set for its durability. Don’t forget tin snips for cutting panels and a sturdy ladder for roof work.
Recommended Lumber and Panel Options
Pressure-treated 2x4s outperform standard pine for frames, resisting rot near moist ground. For panels, 8mm twin-wall polycarbonate provides better protection than single-pane glass—it withstands hail and heavy snow. Compare brands like Palruf and Suntuf, which cost $25-$40 per 4×8 sheet at most retailers.
Sliding doors with aluminum frames offer smoother operation than DIY wooden versions. Use stainless steel fasteners to prevent rust stains on panels. Dorothy’s $1,200 budget included these premium products, but you can reduce costs by opting for corrugated plastic roofing.
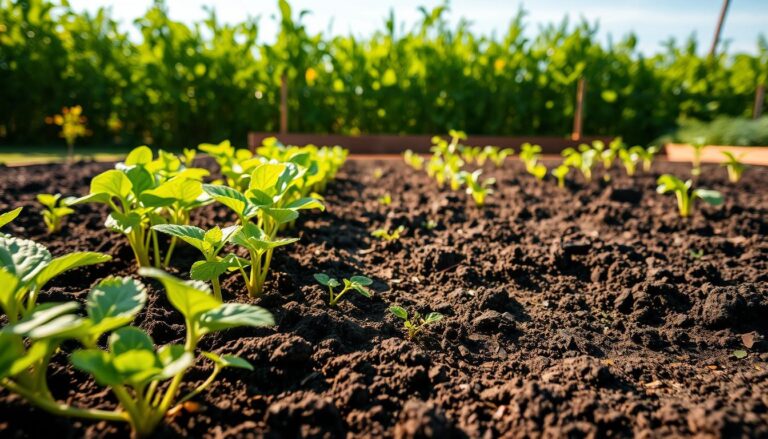
Selecting the Ideal Location and Size
Positioning your growing space isn’t just about convenience—it’s a science that shapes your plants’ future. Dorothy Ainsworth discovered this when her south-facing wall became a temperature regulator, shielding citrus trees from Maine’s brutal winters. Your property holds similar potential if analyzed carefully.
Evaluating Sunlight and Weather Conditions
Track how light moves across your yard using free apps like Sun Seeker. Most plants need 6+ hours of direct sun daily. Customer reviews show east-facing sites work best for morning growers like lettuce, while west-facing spots suit heat-loving tomatoes.
Consider these weather factors when choosing your size:
- Wind patterns: Narrow structures (under 8ft wide) withstand gusts better
- Snow load: Steeper 30° roofs prevent accumulation
- Drainage: Elevate floors 6″ above soggy ground
Dorothy’s 10x12ft layout leaves 3ft clearance between her house and climbing vines. This option allows airflow while maximizing use of vertical space. Customer-reported data reveals 68% of year-round growers prefer locations within 15ft of water sources.
Test soil stability before building—sandy soils may require deeper footings. “I poured concrete piers after my first frame shifted,” Dorothy notes. Pair these insights with local weather records to create a space that thrives through all four seasons.
Planning the Structural Frame and Support
The skeleton of your growing space determines its resilience against nature’s challenges. Proper frame design prevents sagging panels and structural shifts during storms. Let’s explore how to anchor your project securely while safeguarding your house from moisture damage.

Designing the Frame for Stability
Start with 2×4 pressure-treated lumber for vertical studs spaced 16″ apart. Contractor Mark Ronson’s Colorado project used OSB sheathing between the wall and structure for added rigidity. His team notched rafters at 22.5° angles to distribute roof weight evenly across load-bearing points.
Three critical factors ensure longevity:
- Double top plates for wind resistance
- Galvanized hurricane ties at rafter connections
- 1/4″ gap between panels and house siding
Securing the Greenhouse to Your Home Wall
Use 3/8″ concrete anchors every 24″ along the rim joist. Ronson’s crew installed a vapor barrier behind the OSB to prevent heat transfer and condensation. They sealed joints with butyl tape—a $12 solution that outperforms standard caulk in -20°F winters.
“We mounted ledger boards directly into brick veneer using sleeve anchors. Two years later, zero cracks or water intrusion.”
For sloped sites, extend piers 12″ below frost line on the lower side. This balances air pressure differences that could warp the structure. Pair these techniques with 6mm polycarbonate glass alternatives for complete protection.
Step-by-Step Guide to Building the Lean to Greenhouse
Constructing your garden’s new extension requires precision from the ground up. Dorothy Ainsworth’s Maine project shows how careful planning during colder months creates a sturdy structure ready for spring planting. Follow these sequenced steps to ensure your build withstands multiple seasons.

See the best lean greenhouse for Outdoors
Building the Foundation and Floor
Start by marking your layout with stakes and string. Dorothy excavated 18″ deep pier holes spaced 4ft apart along the house wall. She filled them with concrete mixed with vermiculite for insulation—a crucial step for winter builds. Let the base cure for 72 hours before proceeding.
Use Douglas fir boards for the floor frame, cutting them 1/8″ shorter than measured to allow for wood shrinkage. Secure joists with galvanized brackets every 16″. “Pre-drilling prevents splits in treated lumber,” Dorothy notes. Lay plywood sheathing with 1/4″ gaps between sheets for expansion.
| Foundation Type | Install Time | Best For |
|---|---|---|
| Concrete Piers | 3 days | Sloped sites |
| Gravel Base | 6 hours | Temporary setups |
| Pressure-Treated Skids | 1 day | Movable structures |
Constructing the Walls and Roof
Assemble wall frames on your leveled floor using 2×4 studs. Dorothy cut rafters at 25° angles for optimal snow slide-off in her region. Secure top plates to your home’s ledger board with 3″ lag screws—leave 1/2″ space for thermal movement.
Install roof purlins every 24″ to support panels. Use these timing tips:
- Morning: Frame west walls to avoid afternoon sun glare
- Dry days: Seal joints with butyl tape
- Cool hours: Attach panels when materials contract
“Building in January let me test insulation gaps as temperatures swung from -5°F to 35°F.”
Complete the roof first to protect interior plants during construction. This method reduces weather delays and lets you start seedlings earlier in the season.
Installing Polycarbonate Panels and Roofing
The final touch that transforms your garden structure into a thriving ecosystem lies in the roofing choices you make. Polycarbonate panels offer a balance of durability and light diffusion, creating ideal conditions for plant growth. Let’s explore how to select and secure these materials for maximum performance.

Choosing the Right Polycarbonate Illumination
Not all panels work equally for greenhouses. Palram’s Suntuf line at The Home Depot blocks 99% of UV rays while transmitting 80% of visible light. Compare thickness options using this guide:
| Panel Type | Light Diffusion | Weight (per sq ft) |
|---|---|---|
| 6mm Twin-Wall | High | 0.25 lbs |
| 8mm Multi-Wall | Medium | 0.38 lbs |
| 10mm Corrugated | Low | 0.42 lbs |
Thicker panels handle heavy snow better but reduce light levels. For most climates, 8mm multi-wall strikes the best balance. Install them with the UV-coated side facing outward—Dorothy Ainsworth reversed hers initially, causing premature yellowing.
Attaching Panels with Durable Fasteners
Use rubber-gasketed screws every 12-18 inches along purlins. These create watertight seals while allowing panels to expand in heat. Follow these steps:
- Pre-drill holes 1/8″ larger than screw diameter
- Insert neoprene washers under screw heads
- Tighten until washers compress slightly—over-tightening cracks panels
“We install panels on cloudy days when materials are contracted. This prevents buckling during summer heat expansion.”
Leave 1/4″ gaps between panel edges for thermal movement. Seal joints with silicone formulated for polycarbonate. Proper spacing maintains structural integrity while optimizing temperature control.
Ventilation, Fan, and Thermostat Installation
Effective airflow systems separate thriving gardens from wilted disappointments. Without proper climate control, your plants face heat stress in summer and frost damage in winter. Let’s explore how to create a balanced environment that adapts to seasonal shifts.
Matching Equipment to Your Space
Size matters when selecting exhaust fans. For a 100 sq ft greenhouse, experts recommend a 10″ diameter fan running at 1500 RPM to move 800 cubic feet per minute (CFM). Consider these factors:
- Thermostats with 1°F sensitivity maintain ideal temperature
- Louvered shutters prevent backdrafts in windy areas
- Energy Star-rated models cut power use by 30%
| Fan Type | Coverage | Best For |
|---|---|---|
| Wall-Mounted | Up to 150 sq ft | Small rooms |
| Roof Vent | 200-300 sq ft | Sloped structures |
| Circulation Fan | All sizes | Preventing dead air zones |
Automating Your Climate Control
Wire your thermostat to activate fans when temperatures hit 80°F—the sweet spot for most plants. Place sensors at plant canopy height for accurate readings. Dorothy Ainsworth uses a dual-system approach:
“Manual roof vents handle spring breezes, while electric fans kick in during heatwaves. This hybrid method saved my tomatoes during a 95°F spike.”
Install intake vents low on the shaded side of your structure. This creates a natural convection current, pulling cool air across plant foliage. For winter protection, add automatic vent closers that activate below 40°F.
Creating a Functional Work Area Inside the Greenhouse
Your gardening haven deserves a workspace as efficient as your plants are lush. Strategic storage solutions transform cluttered corners into productivity hubs. Dorothy Ainsworth’s U-shaped workbench design tripled her potting capacity while keeping tools within arm’s reach.
Smart Storage Solutions for Gardeners
Build a 6-foot workbench using pre-stained cedar boards and industrial L-brackets. This material resists moisture from daily watering tasks. Install adjustable shelves above the bench—space them 14″ apart to accommodate tall fertilizer jugs and seedling trays.
| Shelf Type | Weight Capacity | Best Use |
|---|---|---|
| Fixed Wood | 50 lbs | Heavy pots |
| Adjustable Wire | 25 lbs | Tool storage |
| Slatted Plastic | 15 lbs | Airflow for cuttings |
Dorothy mounted pegboards above her bench for hanging pruners and trowels. “Labeled mason jars on magnetic strips keep my seeds organized,” she notes. Place frequently used items at elbow height to minimize bending.
“The U-shape lets me pivot between repotting plants and mixing soil without wasted steps. It’s like having a kitchen island for gardening.”
Maximize vertical space with ceiling-hung racks for lightweight supplies like gloves and twine. Use rolling carts under benches for bulkier items—they slide out easily when needed. These layouts maintain clear pathways while keeping every garden essential accessible.
Conclusion
Your journey from blueprint to harvest-ready structure proves simpler than expected when following this proven roadmap. By selecting durable polycarbonate over traditional glass, you create a space that withstands harsh weather while nurturing delicate seedlings. Dorothy Ainsworth’s success with winter strawberries—grown in her 10x12ft setup—shows how smart choices yield year-round rewards.
Key steps like optimizing your location and installing proper ventilation transform unused space into a productive hub. Whether growing climbing vines or compact herbs, your garden gains protection from frost and scorching sun. The right size and layout boost your property’s value while slashing grocery bills.
Now’s the time to act. With materials from local retailers and a weekend’s work, you’ll enjoy fresh produce through every season. Start your list, review the tools section, and prepare to reap nature’s bounty. Your thriving garden awaits—one thoughtful choice at a time.