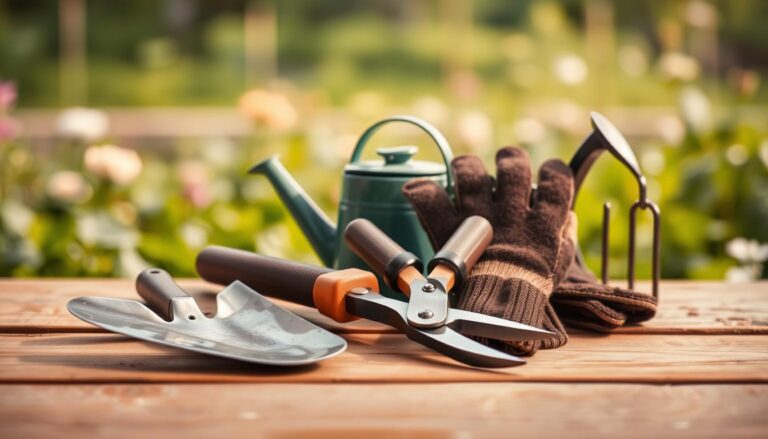
How to Sharpen Garden Shears Quickly and Easily
How to Sharpen Garden Shears ? There’s something deeply satisfying about making clean, precise cuts in your garden. A sharp tool not only makes pruning easier but also ensures your plants stay healthy. When your blade is dull, it can crush or tear plant tissue, leaving them vulnerable to disease. Keeping your tools in top shape saves time and effort while protecting your garden’s vitality.
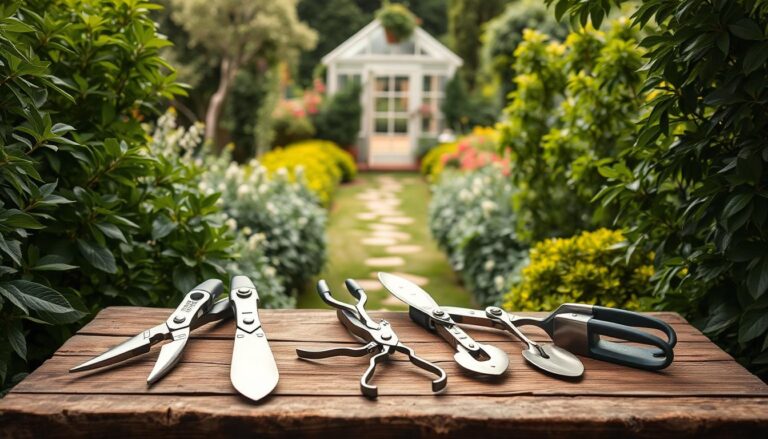
Maintaining your shears doesn’t have to be complicated. With a few simple steps, you can restore their sharpness and extend their lifespan. Regular cleaning and sharpening ensure your tools perform at their best, making every cut smooth and efficient. Plus, a well-maintained tool can last for years, saving you money in the long run.
Safety is just as important as sharpness. Always handle your tools carefully to avoid injuries. A clean, organized workspace makes the process quicker and safer. Whether you’re a seasoned gardener or just starting, keeping your tools sharp is a small effort with big rewards.
Table of Contents
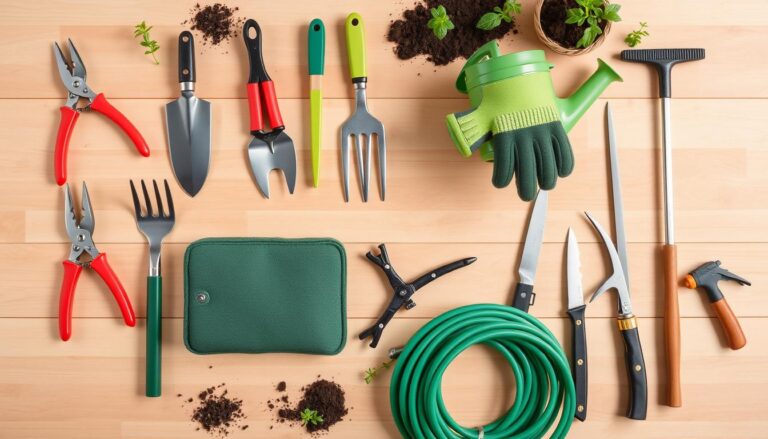
Preparing and Cleaning Your Garden Shears
Proper preparation ensures your tools are ready for efficient use. Before diving into maintenance, it’s essential to disassemble and clean your pruners thoroughly. This step removes built-up grime, sap, and rust, ensuring a smooth sharpening process.
Disassembling Your Pruners Safely
Start by using a wrench to remove the bolts holding the tool together. Lay out all parts in an organized manner to avoid losing any components. Photograph the configuration before disassembly to make reassembly easier later. Handle the blade carefully to avoid injuries from sharp edges.
Removing Dirt, Sap, and Rust with Common Supplies
For stubborn sap and grime, soak the parts in hot soapy water. Use a rag and household cleaners or rubbing alcohol to scrub away residue. For rust, steel wool and a penetrating solvent like WD-40 work wonders. A vinegar and salt solution can also be effective for tougher rust spots.
After cleaning, rinse all components thoroughly to remove any cleaning material residue. Dry them completely to prevent new rust from forming. This step ensures your tool is spotless and ready for the next phase of maintenance.
Safety is key during this process. Always wear gloves and handle sharp edges with care. A clean and organized workspace minimizes risks and makes the task more efficient.
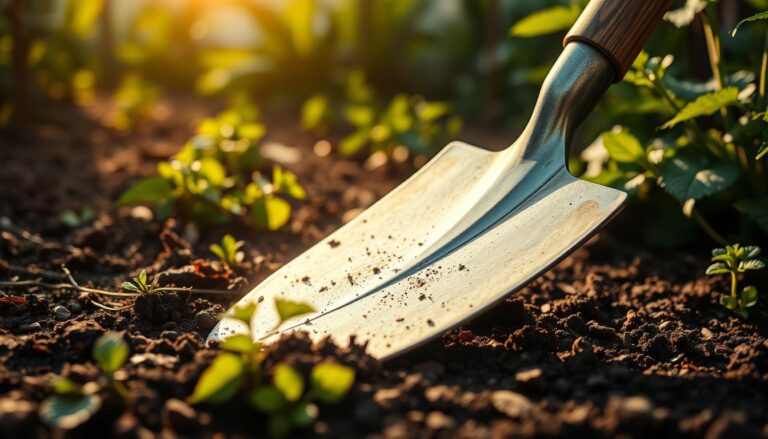
how to sharpen garden shears: Sharpening Techniques and Tools
Achieving a razor-sharp edge on your pruners enhances both efficiency and precision. Proper techniques ensure your tools perform at their best, making every cut smooth and clean. Whether you’re a seasoned gardener or a beginner, mastering these methods will save time and effort.

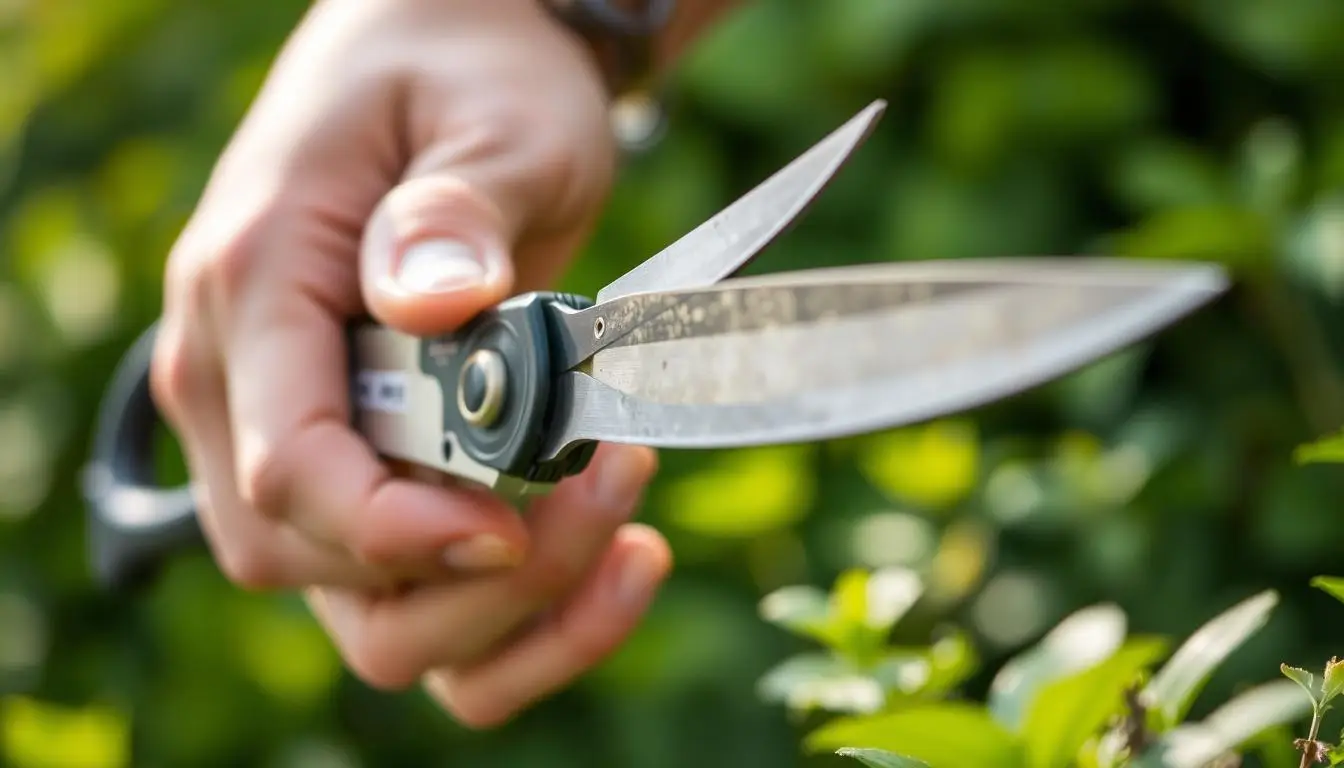
Understanding the Blade’s Bevel and Angle
The bevel is the sloped edge of the blade that requires sharpening. It’s crucial to maintain the original angle, typically between 10 and 20 degrees. Sharpening only the beveled side ensures the blade retains its shape and effectiveness.
Working at the correct angle prevents unnecessary wear and tear. A consistent angle also ensures an even, shiny edge. Use a guide or marker to help maintain the proper angle during the process.
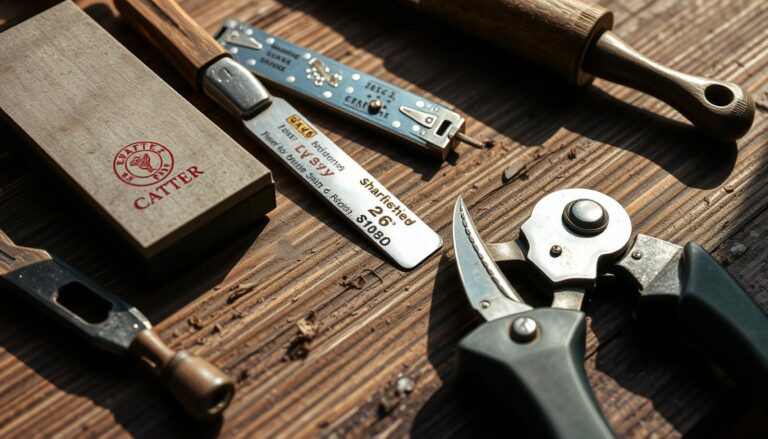
Using Files, Carbide Tools, and Diamond Files Effectively
Files, carbide tools, and diamond files are excellent for restoring a sharp edge. Start by placing the file against the beveled side. Move it in a single, smooth motion away from the blade. Repeat this process until the edge is even and free of nicks.
For tougher blades, diamond files offer superior results. They remove material quickly while maintaining precision. Always work slowly to avoid removing too much metal at once.
Maintaining Steady Pressure and Safe Movements
Applying steady, light pressure is key to achieving a sharp edge. Avoid heavy-handed strokes, as they can damage the blade. Focus on smooth, controlled movements to ensure even sharpening.
After sharpening, check for a slight burr on the opposite side. Gently remove it by holding the file flat against the blade. This step ensures a clean, polished finish.
| Tool | Best Use | Tips |
|---|---|---|
| File | General sharpening | Use a single, smooth motion |
| Carbide Tool | Heavy-duty blades | Apply light pressure |
| Diamond File | Precision sharpening | Work slowly for accuracy |
Safety is paramount during sharpening. Always wear gloves and handle the blade with care. A clean, organized workspace minimizes risks and ensures a smooth process.
Reassembly, Lubrication, and Long-Term Maintenance
Proper reassembly and lubrication are key to keeping your tools in top condition. After cleaning and sharpening, carefully align all components to ensure smooth operation. Tighten bolts just enough to secure the parts without restricting movement.

Reassembling Components with Care
Start by placing each part back in its original position. Use a clean surface to avoid losing small pieces. Refer to any photos taken during disassembly for accuracy. Avoid overtightening bolts, as this can hinder the tool’s mobility.
Check the hinge and mechanism for proper alignment. Ensure there’s no excessive friction, which can affect performance. Taking your time during this step ensures the tool functions as intended.
Applying Oil and Ensuring Smooth Operation
Apply a thin, even coat of oil to all metal parts. This prevents rust and keeps the tool moving smoothly. Focus on the hinge and blade edges, where friction is most likely to occur.
After applying oil, open and close the tool several times to distribute it evenly. Wipe away any excess to avoid attracting dirt. Regular lubrication extends the tool’s lifespan and maintains its efficiency.
For long-term maintenance, store your tools in a dry place. Avoid exposure to water or humidity, which can cause rust. Periodically check for wear and reapply oil as needed. Routine care ensures your tools remain reliable for years to come.
- Reassemble parts carefully to maintain functionality.
- Apply a light coat of oil to prevent rust and ensure smooth operation.
- Store tools in a dry place to avoid exposure to moisture.
- Regular maintenance extends the tool’s lifespan and performance.
Conclusion
Keeping your tools in top shape ensures a thriving garden and effortless pruning. Start by disassembling your equipment carefully. Clean each part thoroughly to remove dirt, sap, and rust. This step prepares the metal for sharpening.
Focus on the bevel when sharpening. Maintaining the correct angle ensures a clean, sharp edge. This tip prevents damage to the blade and promotes precise cuts. Proper sharpening not only extends the tool’s life but also protects your plant health by reducing jagged cuts.
Reassemble the components with care. Avoid overtightening bolts to ensure smooth operation. Regular maintenance, including lubrication and storage in a dry place, keeps your tools performing optimally. These steps ensure your equipment remains reliable for years.
Always handle sharp edges with caution. Routine check-ups and proper care lead to healthier plants and more efficient gardening. By following these steps, you’ll enjoy the benefits of a well-maintained tool and a flourishing garden.