Quick Guide to Gardening Tools Sharpening Tips
gardening tools sharpening? Ever felt the frustration of struggling with dull blades while tending your outdoor space? You’re not alone. Many enthusiasts overlook a simple truth: well-maintained equipment isn’t just about efficiency—it’s about pride in your craft. Whether you’re pruning roses or trimming hedges, sharp edges make every task smoother and safer.
This guide is designed for beginners who want to save time and money. You’ll learn how to transform worn-out edges into precision instruments in under an hour. With a modest investment in safety gear like protective eyewear and a sturdy vise, you’ll avoid costly replacements and enjoy tools that last years, not seasons.
We’ll walk you through each step—from identifying when your equipment needs attention to applying protective oils after sharpening. No jargon, no guesswork. Just clear, actionable advice to help you work smarter, not harder. By the end, you’ll wonder why you didn’t start sooner.
Table of Contents
Understanding the Importance of Sharp Garden Tools
What separates thriving plants from struggling ones often lies in the quality of your cuts. Crisp edges create surgical precision, while dull implements leave behind chaos. This difference impacts everything from plant recovery to pest resistance.
Why Blade Quality Affects Growth
Clean slices heal faster. When your equipment glides through stems instead of crushing them, plants seal wounds quickly. Ragged cuts from worn edges become open invitations for:
- Bacterial infections
- Fungal growth
- Insect infestations
Research shows plants recover 40% faster from precise cuts compared to torn tissue. That’s why professionals inspect their edges before every major task.
Spotting the Need for Attention
Your equipment tells you when it’s ready for care. Look for these signs:
- Leaves tearing instead of slicing cleanly
- Increased effort required for simple cuts
- Visible nicks or rounded edges
Most experts recommend seasonal maintenance. Spring pruning and fall cleanups make ideal checkpoints. Regular care prevents last-minute frustrations when you’re ready to work.
Pro tip: Keep a test branch nearby. If your shears crush rather than cut, it’s time for action. Well-maintained edges turn hours of work into efficient, enjoyable sessions.
Preparations and Safety Measures for Gardening Tools Sharpening
Safety isn’t just a precaution—it’s the foundation of effective maintenance. Proper setup reduces accidents and ensures consistent results. Begin by choosing a workspace with bright lighting and a solid surface to prevent slips or unstable handling.

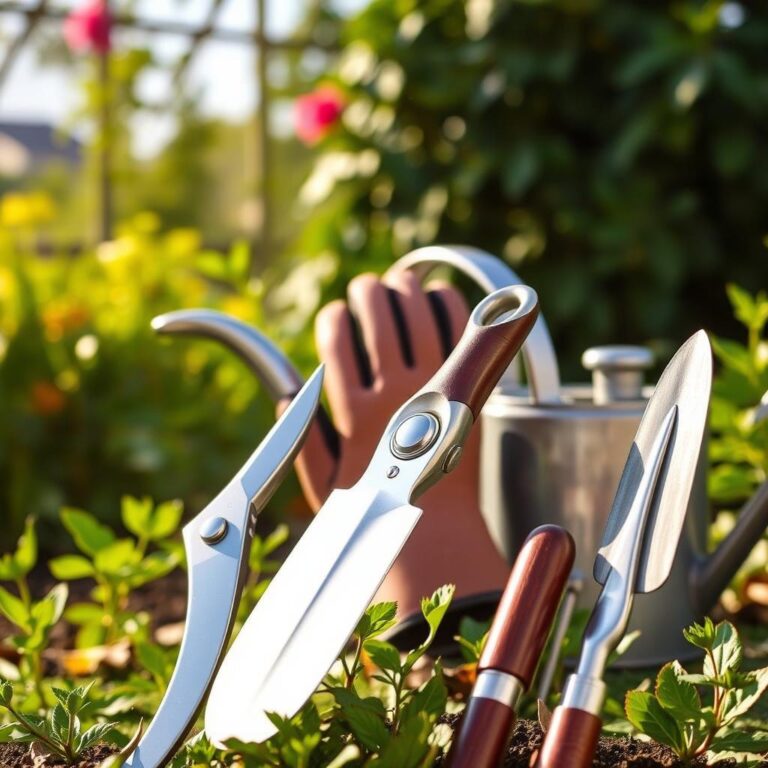
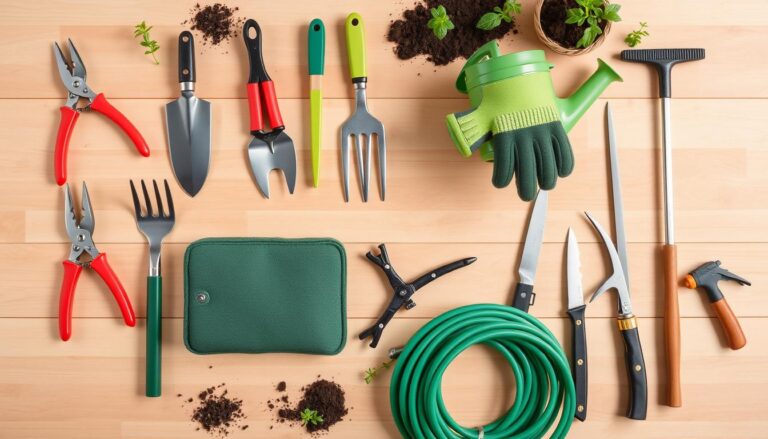
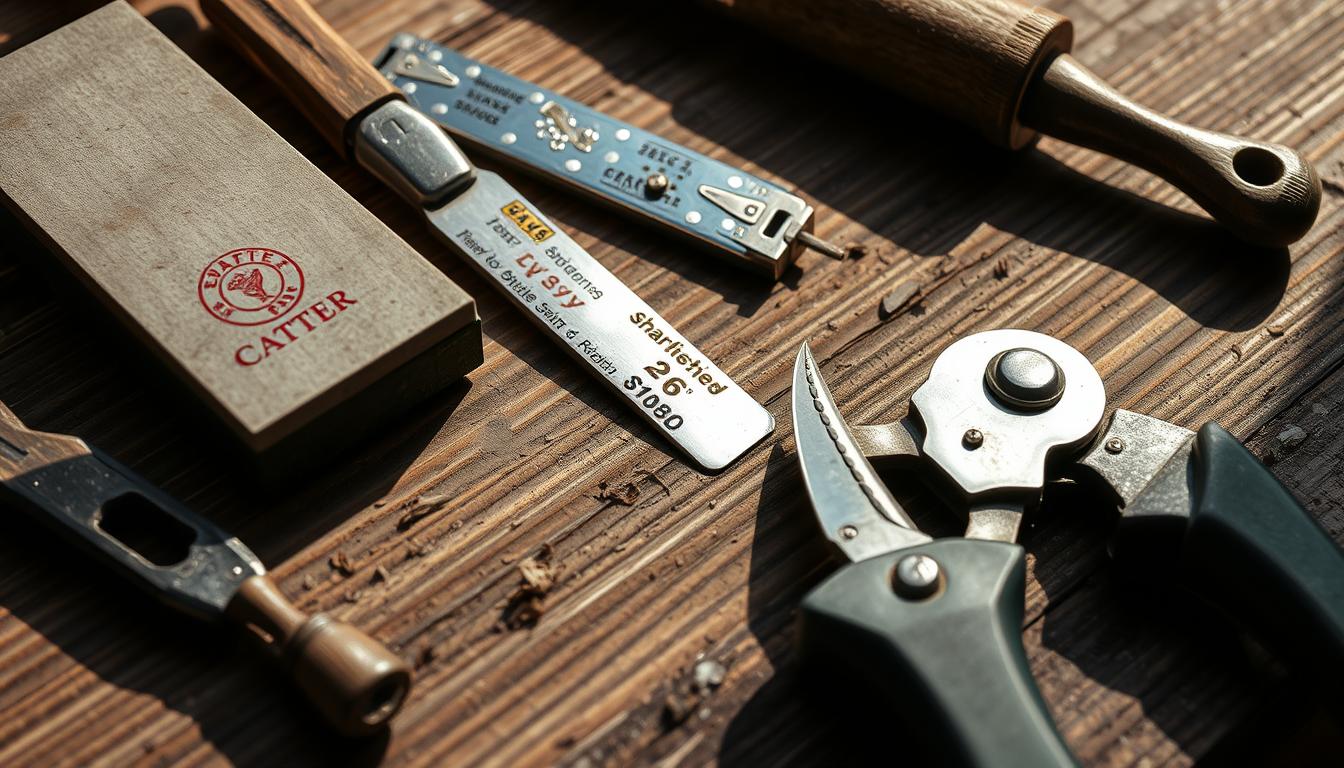
Essential Tools and Safety Gear for the Job
Start with impact-resistant eyewear to shield your eyes from metal fragments. A bench vise stabilizes equipment during work, while a socket set helps disassemble parts needing detailed care. These items create a controlled environment for precise adjustments.
Your workspace should have three non-negotiable features:
- Ample overhead lighting to spot imperfections
- Non-slip mats underfoot for secure footing
- Easy access to first-aid supplies
When applying protective oils like boiled linseed, always follow container directions. Store used rags in sealed metal containers—improper disposal risks fire hazards. Wipe down surfaces after use to prevent residue buildup.
| Item | Purpose | Safety Benefit |
|---|---|---|
| Safety Glasses | Eye protection | Blocks debris |
| Bench Vise | Tool stabilization | Prevents slips |
| Wire Brush | Rust removal | Ensures clean surface |
| Fireproof Can | Rag storage | Avoids combustion |
Clean equipment thoroughly before starting. Remove dirt with a stiff brush and degreaser. Inspect for deep rust pits that might require professional help. A well-maintained edge starts with a spotless surface.
Step-by-Step Guide to Gardening Tools Sharpening
Precision begins long before you touch a file to metal. Follow this systematic approach to restore your equipment’s cutting power while prioritizing safety and longevity.

1. Cleaning and Inspection Essentials
Start by removing dirt with a wire brush and mineral spirits. Scrub until metal surfaces gleam—debris hides flaws. Check for deep rust pits using angled light. If your fingernail catches on nicks, they need attention.
2. Edge Restoration Techniques
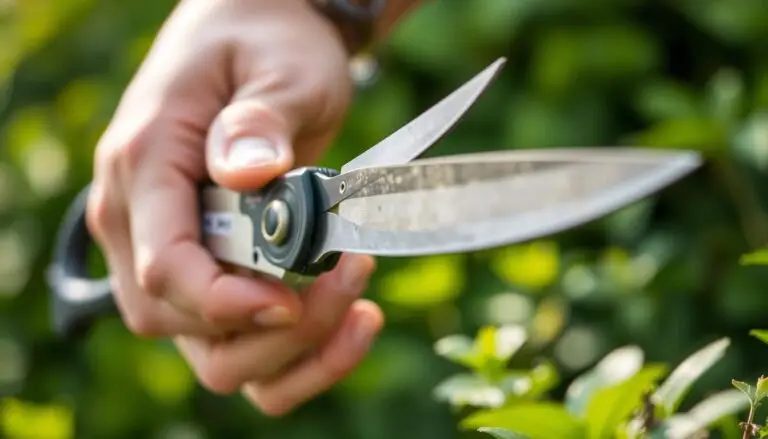
Secure the blade in a vise at 20 degrees—the sweet spot for most edges. Use smooth file strokes away from your body, maintaining consistent pressure. Test sharpness by slicing paper; it should glide without snagging.
For serrated edges, wrap sandpaper around a dowel. Match the original angle with circular motions. Always work from base to tip to prevent uneven wear.
3. Protective Treatments That Last
Apply boiled linseed oil using a lint-free cloth. Cover all metal surfaces to block moisture. Let it penetrate for 10 minutes before wiping excess. For moving parts, use WD-40’s lubricating spray.
Critical safety note: Store oil-soaked rags in sealed metal containers. Spontaneous combustion risks disappear when you follow this simple storage rule.
| Product | Best For | Frequency |
|---|---|---|
| Boiled Linseed | Flat surfaces | Seasonal |
| WD-40 | Hinges/springs | Monthly |
| 5-in-1 Oil | Multi-purpose | As needed |
Complete the process by reassembling components tightly. Your renewed edges should slice through vegetation like warm butter, reducing strain on both plants and users.
Conclusion
Transforming dull edges into precision instruments isn’t just about technique—it’s about respecting your craft. Consistent care for your equipment ensures cleaner cuts, healthier plants, and less effort during outdoor projects. By following the safety protocols and restoration methods outlined here, you’ve gained the skills to preserve your blade’s effectiveness season after season.
Regular maintenance prevents costly replacements and protects your green investments. A well-honed edge slices effortlessly through stems, reducing plant stress and disease risks. Schedule monthly inspections and seasonal tune-ups to maintain peak performance—your plants will thank you with vibrant growth.
Remember: Quality results stem from deliberate care. Whether you’re shaping shrubs or harvesting vegetables, a sharp blade remains your most reliable partner. Start today, and watch both your efficiency and garden thrive.