Effortless Gardening with Self Watering garden Beds
Imagine stepping outside to lush greenery and vibrant vegetables—even after forgetting to water for days. For many, gardening starts as a joyful hobby but quickly becomes a chore. Overwatering, dry soil, and unpredictable weather can turn a thriving plot into a wilting disappointment. What if your plants could take care of themselves while you reclaim your weekends?
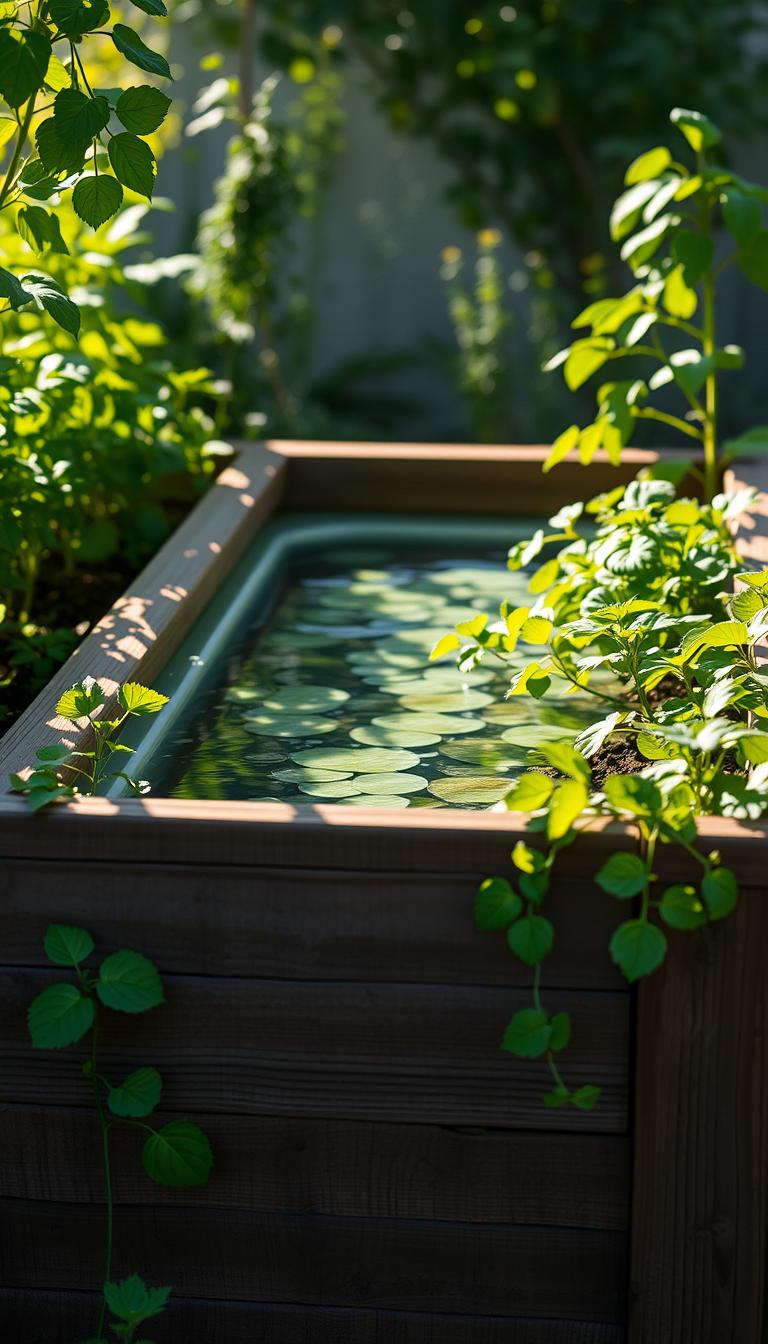
This is where innovative design meets nature’s needs. A self-watering garden bed combines the simplicity of traditional raised beds with underground reservoirs that deliver moisture directly to roots. Instead of daily hose battles, capillary action draws water upward as plants need it. The result? Consistent hydration without guesswork.
These systems use a layered approach: a soil compartment sits above a water chamber, separated by a porous barrier. Roots grow downward, accessing moisture as conditions demand. This method prevents over-saturation and reduces evaporation—ideal for busy schedules or drought-prone areas.
Whether you’re growing herbs on a balcony or tomatoes in a backyard, this approach adapts to your space. You’ll spend less time monitoring soil levels and more enjoying fresh harvests. It’s gardening simplified, letting you focus on what matters most: the joy of growth.
Table of Contents
Overview of Self Watering Garden Beds
The concept of automated plant hydration dates back to ancient civilizations, but modern wicking beds refine this idea with precision. Originally developed for arid climates, these systems gained popularity in Australia during the 1990s as water conservation became critical. Unlike traditional raised beds that rely on surface irrigation, they employ a reservoir at the bottom to store moisture and distribute it upward through capillary action.
What sets these structures apart from standard containers? While self-watering pots work similarly, wicking beds handle larger volumes and diverse crops more effectively. Their layered design includes a watertight base, porous medium like scoria, and nutrient-rich soil. This setup allows roots to access hydration as needed while preventing oversaturation.
Quality materials make or break success. Pond liners must be durable to avoid leaks, and geotextile fabric prevents soil from clogging the reservoir. As a gardener, your role involves monitoring the system during initial setup—ensuring even water distribution and adjusting soil blends with organic matter for optimal growth.
“The beauty lies in its simplicity. Once established, the bed maintains itself for weeks,” notes urban farming expert Mara Lin.
Benefits include reduced watering frequency and resilience during droughts. However, challenges like initial cost and precise leveling during installation require attention. With thoughtful planning, these systems adapt to patios, rooftops, or sprawling yards—bringing efficiency to every harvest.
How Wicking Beds Function: Capillary Action Uncovered
Capillary action is nature’s silent water delivery system. Tiny spaces in soil and porous materials act like microscopic straws, pulling liquid upward against gravity. This process powers wicking beds, turning them into self-regulating ecosystems.

Mechanics of Water Movement
A typical setup has three layers. The water reservoir sits at the bottom, separated from soil by a geotextile barrier. When roots absorb moisture, dry areas create suction. This draws liquid through the fabric via soil wicking, maintaining consistent dampness.
An overflow outlet prevents flooding during heavy rains. It keeps the reservoir at optimal levels—usually 2-4 inches deep. Roots grow downward, accessing stored hydration without becoming waterlogged.
Benefits and Limitations
Advantages include:
- 60% less water use compared to traditional methods
- Weeks of autonomy for busy growers
- Reduced evaporation in hot climates
However, salt accumulation can occur over time. Flushing the system every 3-4 months prevents mineral buildup. Some crops like rosemary prefer drier cycles—adjust planting zones accordingly.
By balancing reservoir capacity with soil composition, these systems create ideal conditions. Your greens stay hydrated, while deep-rooted tomatoes avoid soggy feet. It’s hydration science working beneath your fingertips.
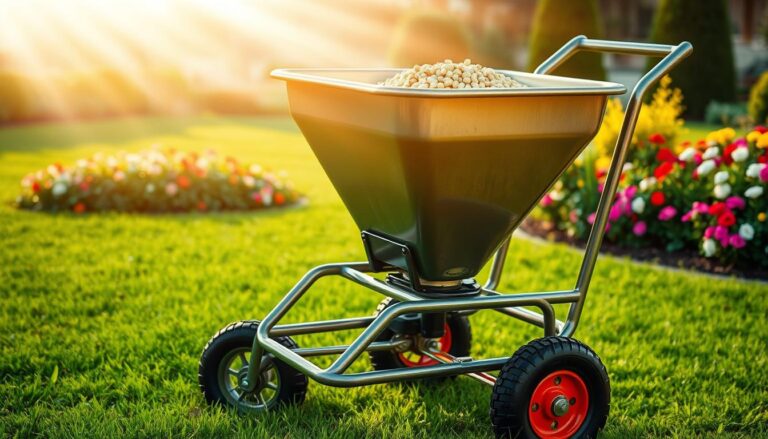
Materials and Tools for Your Gardening Project
Gathering durable materials is your first step toward building a low-maintenance growing space. Three components form the backbone of these systems: a reliable pond liner, breathable geotextile fabric, and porous scoria. Quality here ensures years of trouble-free growth.

Choosing Quality Scoria, Pond Liners, and Geotextile Fabric
Opt for food-grade plastic liners—EPDM rubber or PVC work best—to prevent chemical leaching. Thicker options (30-45 mil) resist punctures better. Scoria (volcanic rock) should have uniform 10-20mm chunks for optimal capillary action. Avoid crushed granite—it compacts over time.
| Liner Type | Durability | Cost | Flexibility |
|---|---|---|---|
| PVC | 10-15 years | $0.30/sq ft | High |
| EPDM | 20+ years | $0.60/sq ft | Medium |
| HDPE | 5-8 years | $0.20/sq ft | Low |
Non-woven fabric acts as a soil filter. Choose 6-oz weight—lighter versions tear during root growth. For raised beds, cedar or recycled plastic walls provide lasting structure.
Essential Tools for Accurate Installation
Precision matters when creating watertight seals. You’ll need:
- Adjustable wrench for PVC pipe fittings
- Spirit level to ensure 1-2° reservoir slope
- Hole saw kit (1.5″ size for overflow outlet ports)
Secure bulkhead fittings with silicone sealant before tightening clamps. Test the system overnight—leaks often appear at pipe elbow joints first. A well-built setup lasts 5-7 years with minimal upkeep.
Designing Your Self Watering Garden Bed
Crafting an efficient layout begins with understanding your plants’ hidden needs. A well-planned structure ensures roots access moisture evenly while preventing wasted resources. Start by sketching your available space, noting sunlight patterns and plant growth habits.

Planning the Layout and Dimensions
Depth matters most. Aim for 12-18 inches of soil above a 6-8 inch reservoir. This ratio balances root development with consistent wicking. For narrow plots, keep widths under 4 feet to reach plants easily. Longer beds? Add overflow outlets every 6 feet to maintain level hydration.
Material calculations depend on your chosen raised bed size. A 4’x8’ frame requires 16 cubic feet of scoria and 24 cubic feet of planting mix. Pair this with pond liner cut 12 inches wider than the base for secure wrapping.
| Feature | Self-Watering Pots | Wicking Beds |
|---|---|---|
| Reservoir Capacity | 1-3 gallons | 20-50 gallons |
| Plant Variety | Herbs, flowers | Tomatoes, squash |
| Maintenance | Weekly refills | Monthly checks |
Integrate self watering pots principles by adding vertical PVC pipes for direct reservoir access. These “hydration columns” let you monitor water levels without disturbing roots. Slope the base 1-2° toward overflow ports for automatic drainage during storms.
“Measure twice, build once. Proper planning eliminates 80% of moisture issues,” advises landscape designer Clara Holt.
Test your design with a temporary fill. Watch how quickly moisture rises through the wicking layer. Adjust soil blends if puddles form or dry spots persist. Your blueprint now becomes a thriving, low-effort ecosystem.
Building Your Self Watering Garden Bed
Transform your outdoor space into a thriving ecosystem with precise construction techniques. Proper assembly ensures your wicking bed functions flawlessly for years. Let’s break down the critical steps for creating a reliable hydration system.

Installation of the Water Reservoir and Liner
Start by laying the pond liner across your frame. Fold corners neatly to avoid punctures, securing edges with stainless steel clips. Spread scoria evenly across the base—this porous layer fuels wicking action. Cover it with geotextile fabric, leaving 3-inch overlaps on all sides.
- Cut PVC pipe to match bed height for the inlet
- Drill ¼-inch holes along the bottom 6 inches
- Position the pipe vertically in one corner
Securing the Inlet and Overflow Outlet
Attach bulkhead fittings for the overflow outlet using silicone sealant. Tighten nuts gradually to prevent liner tears. Test the reservoir by filling it halfway—watch for leaks at connection points. Adjust pipe angles until water flows smoothly through the system.
“A level base prevents dry zones. Check every 12 inches during assembly,” recommends irrigation specialist Dan Porter.
Finally, spread soil evenly over the fabric. Use a carpenter’s level to confirm flatness. Your plants will now access moisture uniformly, whether you’re growing herbs in containers or sprawling veggies in larger setups.
Leveling and Establishing Even Water Distribution
Have you ever noticed dry patches in your growing area despite regular care? Uneven surfaces disrupt capillary action, leaving some roots thirsty while others drown. Proper leveling ensures every plant receives equal access to hydration through the wicking system.

Achieving Optimal Soil Moisture
Start by placing a spirit level across your structure’s frame. Check both length and width directions—adjust the base until bubbles stay centered. Even ¼-inch slopes can redirect water flow away from thirsty crops.
Follow these steps for balanced hydration:
- Fill the reservoir completely during initial testing
- Wait 24 hours before checking soil moisture with a meter
- Add compost to raise low spots or sand to improve drainage
| Plant Position | Moisture Level | Adjustment |
|---|---|---|
| Near overflow | High | Add drought-tolerant species |
| Center | Moderate | Mix in organic matter |
| Edges | Low | Install feeder tubes |
“Leveling isn’t just about appearance—it’s the difference between survival and thriving,” explains horticulturist Liam Cole.
If certain areas stay soggy, check overflow outlets for clogs. Dry zones may need additional wicking material beneath the soil. Position deep-rooted varieties near moisture sources, and cluster shallow plants where evaporation occurs faster.
Regularly monitor your system after planting. Gentle slopes toward drainage ports prevent stagnation while maintaining steady upward action. With precise leveling, your greens flourish uniformly—no more guesswork required.
Maintenance and Troubleshooting for Wicking Systems
What happens when your low-maintenance setup needs a little attention? Even the most efficient designs require periodic checks to stay productive. By following simple routines, you’ll keep your wicking system running smoothly through every season.

Routine Care and Seasonal Adjustments
Start with monthly reservoir inspections. Use a PVC pipe to measure water levels—refill when they drop below 25%. Clean inlet screens every 60 days to prevent debris buildup. In summer, increase checks to biweekly as plants drink faster.
Seasonal shifts demand adjustments:
- Winter: Reduce reservoir volume by 40% to avoid soil saturation
- Spring: Flush the system to remove mineral deposits
- Fall: Trim roots near overflow outlets to prevent clogs
Identifying and Fixing Common Issues
Yellowing leaves often signal root rot from excess moisture. If stems feel mushy, temporarily stop refilling the reservoir. For salt buildup (white crust on soil), soak the bed with 5 gallons of water to flush deposits.
| Problem | Solution | Tools Needed |
|---|---|---|
| Clogged pipe | Use a plumber’s snake | Wire brush, wrench |
| Dry patches | Level the base | Spirit level |
| Slow wicking | Replace compacted scoria | Shovel, new porous rock |
“Catch issues early. A 10-minute monthly check saves hours of repair later,” advises irrigation specialist Elena Torres.
For persistent problems in raised bed setups, consider adding secondary overflow ports. Spot-treat affected areas instead of overhauling the entire system. With consistent care, your plants thrive while you enjoy more harvests—and fewer headaches.
Seasonal Watering Strategies and Garden Optimizations
Does your growing space thrive in summer but struggle during heat waves? Weather patterns demand flexible approaches to keep plants healthy year-round. By aligning your system with nature’s rhythms, you’ll boost yields while conserving resources.

Adapting to Climate and Weather Conditions
In arid regions, line reservoirs with plastic to minimize evaporation. Humid areas? Use breathable fabric covers to prevent mold. Adjust soil depth based on rainfall—shallow layers dry faster in droughts, while deeper beds handle downpours.
Modify reservoir settings seasonally:
- Summer: Fill to 90% capacity; check weekly
- Winter: Reduce to 30% to avoid root rot
- Storm season: Open overflow holes fully
| Material | Hot Climates | Cold Climates |
|---|---|---|
| Plastic liners | Retains moisture | Cracks below freezing |
| Geotextile fabric | Reduces heat stress | Insulates roots |
| PVC pipes | Warp-resistant | Require insulation |
Optimize layouts by spacing plants 15% wider in humid zones. In windy areas, position taller crops near overflow pipes to shield delicate greens. “Rotate crops annually to balance soil nutrients,” suggests agricultural researcher Dr. Ellen Reyes.
Test these strategies:
- Track rainfall with a gauge near your raised bed
- Adjust wicking layers using local gravel types
- Monitor root growth through clear access panels
Your microclimate is unique—experiment to find the sweet spot between hydration and drainage. With smart tweaks, every season becomes harvest season.
Conclusion
Creating a sustainable growing system begins with smart design and intentional execution. By following the steps outlined—from building wicking layers to calibrating reservoir depths—you establish a foundation for year-round plant health. Quality materials like geotextile fabric and porous scoria matter, ensuring efficient water movement from bottom reservoirs to root zones.
Understanding capillary action transforms how you approach hydration. Proper wicking mechanics eliminate guesswork, delivering moisture precisely where plants need it most. Seasonal adjustments and routine checks keep systems thriving, whether you’re using compact containers or expansive raised beds.
Now’s the time to apply these principles. Start small with herbs or dive into larger projects—every space benefits from automated hydration. With careful planning during the build wicking phase and attention to soil balance, your greens flourish with minimal effort.
Ready to simplify your routine? Grab your tools, choose durable materials, and craft a setup that works while you relax. Your future harvests—and free weekends—will thank you.